5 photography lessons for kids who love to create
Posted in: Creating with kids
Summer is coming, so I put together a list of 5 photography lessons for kids to try out this summer when pool time and sunscreen application get old, and the days will start to feel hot and long. If you’re looking for new, creative ways to keep those kids busy, look no further. Read on for a list of my 5 favorite ways to use photos to create.
Table of Contents
First things first: You don’t need fancy art supplies to create
Save those Amazon boxes
I like to save cardboard boxes that have nice, large flat sides that my kids can use underneath their art projects or as a canvas for the project itself. Sometimes they come with a long sheet of brown paper you can save too. Yeah, it might be a little crumpled but it’s great for putting down under an art project or for taping down flat and using as a giant, blank coloring page.
Use what you already have…
Do your kids get stickers at the dentist, the doctor, and Trader Joe’s? Do you get catalogs in the mail that usually go straight to the recycling bin? Listen, tossing these things is normal and great. But when it’s summertime and you just need your kids to be busy, this trash can be a treasure. Consider saving stuff you may not normally save for the sake of saving your sanity. Other supplies you might have on hand already: glue sticks, scissors, stickers, markers/crayons/colored pencils, scrap fabric (clothes that no longer fit), beads, wrapping paper, etc.
…and thrift what you don’t.
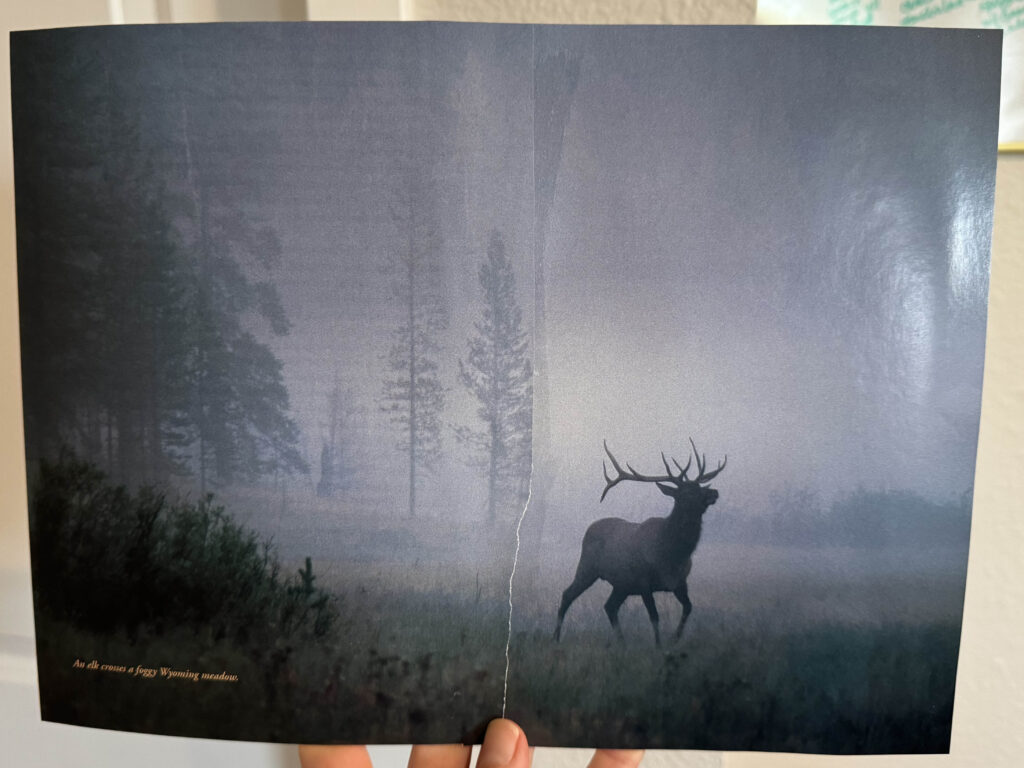
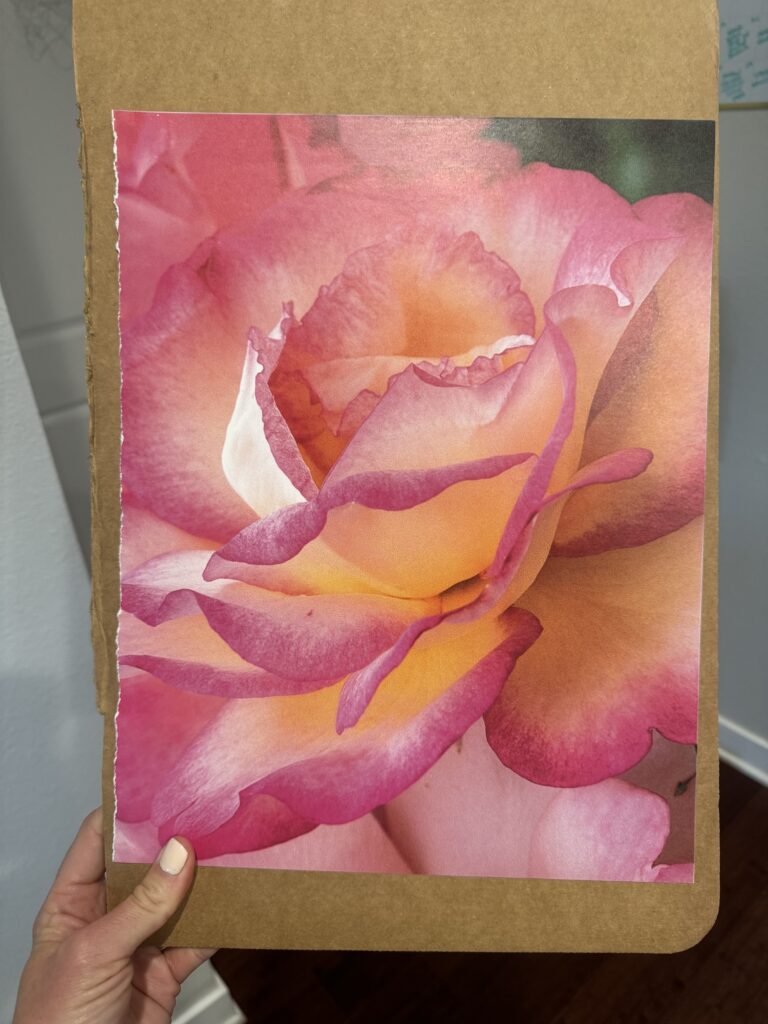
If you don’t have the bandwidth to get your own photos printed for these projects, you can use photos from magazines or books. I thrifted a really cool, really large National Geographic coffee table book for just $3 that was full of animal photos that were used for photo projects similar to these while teaching kids at the Studio Channel Islands in Camarillo. In addition to thrift stores, the dollar store also has an art supply section.
5 photography lessons for kids who love to create
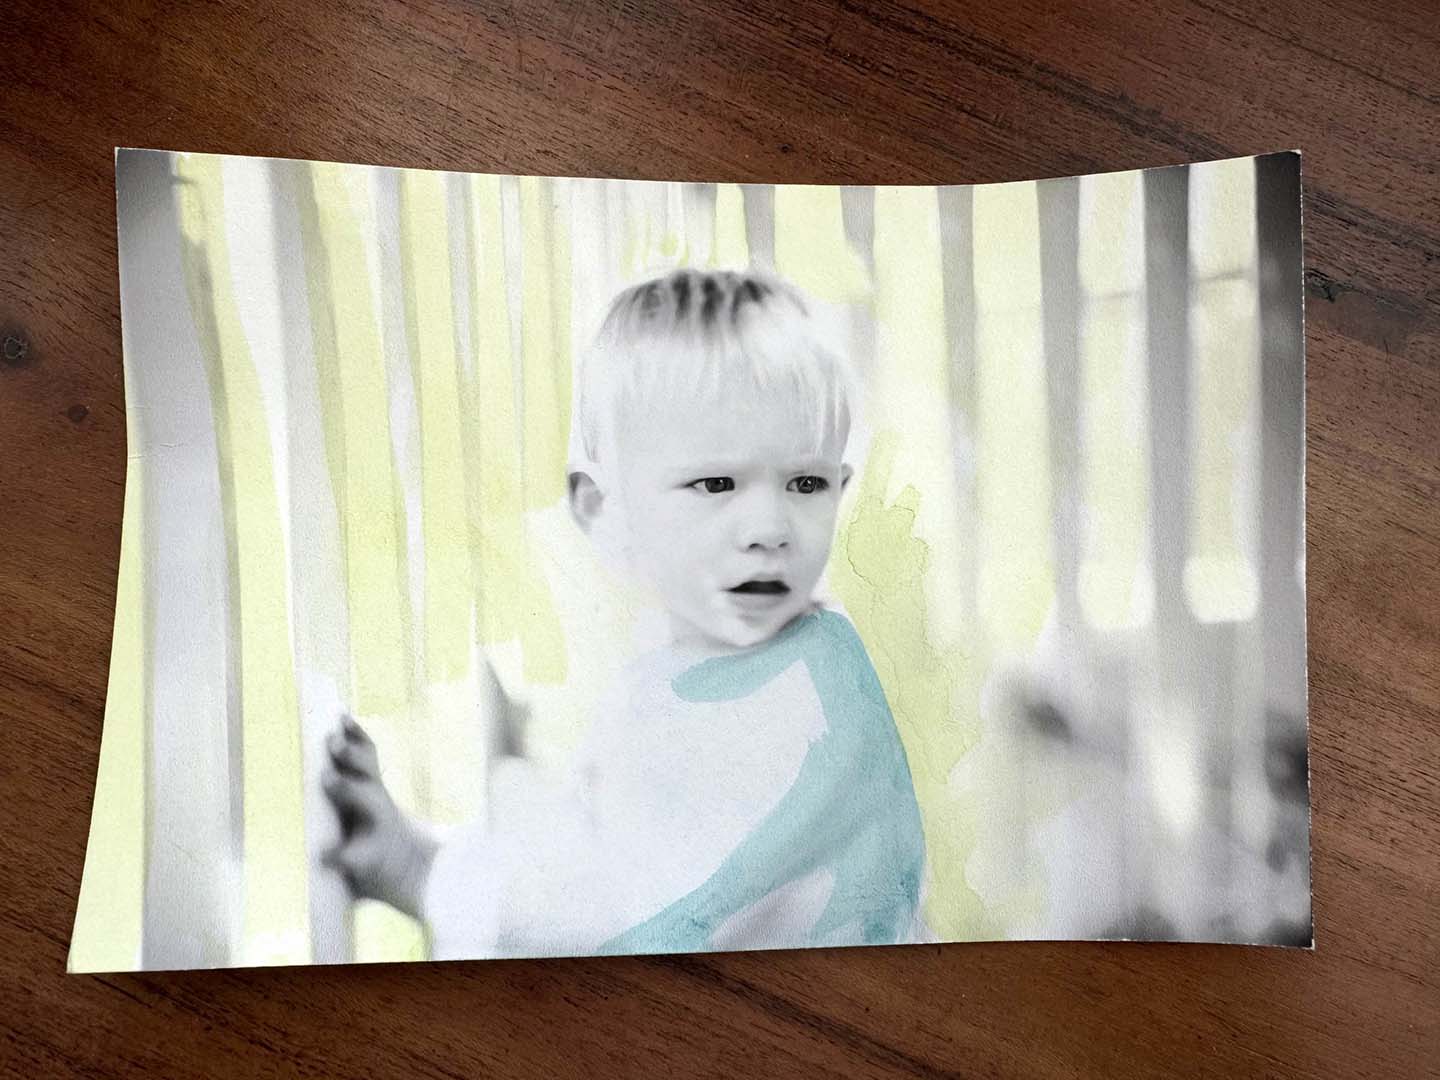
“Color in” a black and white photo
There was a period of time when “selective color” was all the rage. Photographers would make an image black and white in Photoshop and then bring back just one color to make the image pop. While that has mostly gone out of style for professional portraits, that doesn’t mean you can’t have your own fun with the same concept. Print a black and white photo on paper (or use one from a book/magazine) and use watercolors, acrylics or markers to “color in” the photo where you want and add fun details.
Upcycle a thrifted frame
There are so many ways to upcycle frames. Here are a couple that make great projects for kids (and adults too):
Personalize the frame itself. Kids can paint the frame whatever color(s) their heart desires and then bedazzle it with jewels, found seashells/rocks or decoupage with magazine cutouts and stickers.
OR
Create a pop art inspired piece. Choose the photo you’d like to transform into pop art. Then, place the glass from the frame over the photo. Use a sharpie or paint marker to trace outlines of the image onto the glass. Have your kids paint whatever fun colors they’d like inside the lines of their drawing. Once the paint is dry, flip the glass so the painted side is inside the frame. You can put a plain sheet of paper (black, white or a color) behind the glass to fill in any unpainted spots.
GREAT LOCAL PLACES TO THRIFT:
Goodwill in Camarillo, located at 267 Arneill Road.
Avenue Thrift in Ventura located at 222 N Ventura Avenue.
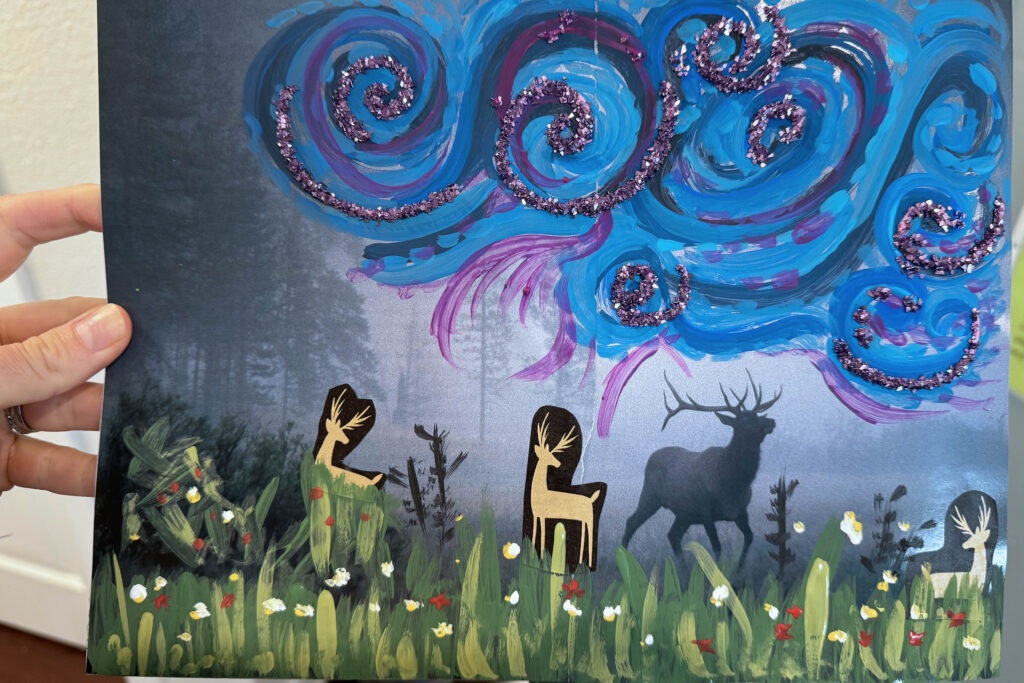
Add flair to a printed photo
Similar to bedazzling a frame, this can be done with a photo from a magazine, book or one of your own. This is a favorite for my own kids. The nice thing about this project is that it can be as messy as you want (or don’t want). If you are triggered by the mess that creating can make, then just give your kid some crayons or colored pencils and let them go to town marking up the photo and adding their own design to it.
If you’re a little more adventurous with projects, put out all the fun supplies you have and let those kids really get crazy adding paint, stickers, googly eyes, etc. We brought home a small ziplock bag of sand from the beach once that my daughter used to add texture to a beach scene she painted. One art student of mine used fabric to create outfits on a photo of a family of penguins. Let those kids get wild.
Use solar power to create your own images
This is a project that can use up a good chunk of the day if you do it right. The first step is finding what it is you’d like to print onto your sun paper. Go for a hike, take a trip to the beach, or send the kids out into the yard and give them the task of finding leaves with cool shapes, sticks that are varying degrees of thickness, flowers that have a great silhouette, shells they love – whatever their heart desires.
Once they find their objects, they lay them out on the paper and leave the paper in the sun. The sun does the rest of the work, and you end up with some really cool artwork.
You can find sun print paper on Amazon.
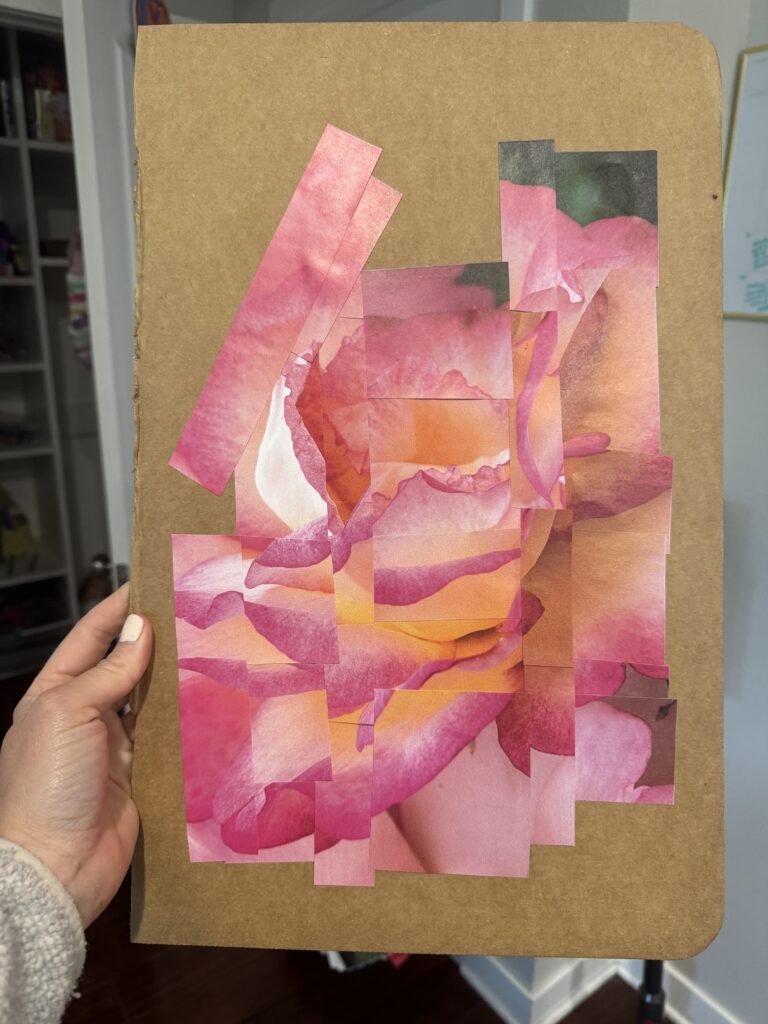
Reimagine a photo using “joining” techniques
One of my favorite photography lessons for kids is inspired by David Hockney. He is an artist who throughout his art career has explored more than one medium, and photography is one of them. A quick Google search can show you what his joiner photos look like. This is a fun manipulation of photos for kids because it is almost like creating their own puzzle.
Begin with one photo. Cut it into strips and squares. Try to keep the pieces you’ve cut organized. Arrange the strips and squares in a way that is inspired by David Hockney’s joiner images. Once you like the way it looks, glue it down onto paper or a piece of cardboard or canvas.
Now get to it!
Whenever my kids complain that they’re “soooo booooored” I tell them they’re so lucky they feel that way because it means they’re about to get really creative. (They’re sick of me saying that but I’m not going to stop.) Next time you hear this complaint from your own kids, pull up these photography lessons for kids and put them to work. Happy creating!
To read other blog entries, click here.
5 photography lessons for kids who love to create
Erica Hurlburt is an award winning Ventura County Photographer specializing in family, newborn and school photography. Her style tends toward cleaner, classic images, both in how they’re composed and edited. Her goal in every session is to keep things relaxed and fun and to create images that are both meaningful and unique.
Erica serves clients in Camarillo, Ventura County, Newbury Park, Thousand Oaks, Westlake,
Malibu, Santa Barbara, Los Angeles, Ojai and beyond.


Be the first to comment